Build a Coding Agent Using Amp Code and Daytona
This guide demonstrates how to run an autonomous coding agent based on Amp Code inside a Daytona sandbox environment. The agent can develop full-stack web apps, write code in any language, install dependencies, and run scripts. It can also start and manage dev servers, and generate preview links for live apps.
1. Workflow Overview
Section titled “1. Workflow Overview”When you launch the main module, a Daytona sandbox is created and the Amp CLI is installed inside it. The agent uses Amp’s streaming JSON mode for programmatic control.
You interact with the main program via a command line chat interface. The program sends your prompts to the agent inside the sandbox, which executes them and returns the results:
$ npm run startCreating sandbox...Installing Amp CLI...Starting Amp Code...Thinking...Got it! I'm ready to help. What would you like to build or work on?
Agent ready. Press Ctrl+C at any time to exit.
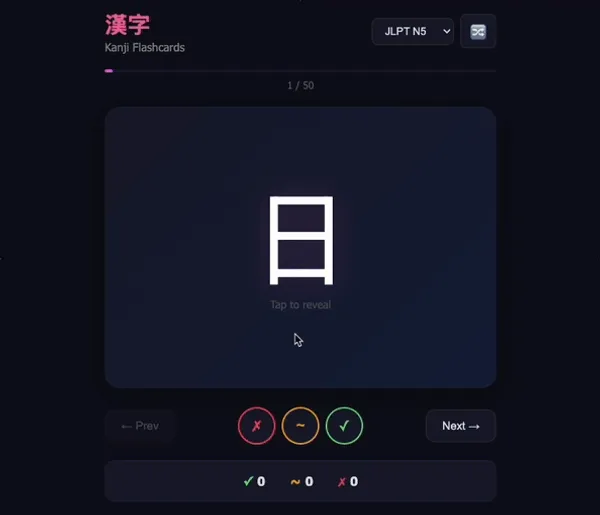
User: Create a Kanji flashcard appThinking...> I'll create a Kanji flashcard app with flip animations, progress tracking, and multiple study modes. Here's the preview URL:
https://8000-29baaaf7-767a-4dff-8129-1e6ec2100b3e.daytonaproxy01.net🔧 create_file /home/daytona/index.htmlSuccessfully created file /home/daytona/index.html🔧 create_file /home/daytona/start.shRunning `python3 -m http.server 8000` via session command...
User:The agent can also host web apps and provide you with a preview link using the Daytona Preview Links feature. When your task involves running or previewing a web application, the agent automatically reasons about this need, hosts the app, and generates a preview link for you to inspect the live result:
You can continue interacting with your agent until you are finished. When you exit the program, the sandbox will be deleted automatically.
2. Project Setup
Section titled “2. Project Setup”Clone the Repository
Section titled “Clone the Repository”First, clone the daytona repository and navigate to the example directory:
git clone https://github.com/daytonaio/daytona.gitcd daytona/guides/typescript/amp/amp-sdkConfigure Environment
Section titled “Configure Environment”Get your API keys:
- Daytona API key: Daytona Dashboard
- Amp API key: Amp Settings
Copy .env.example to .env and add your keys:
DAYTONA_API_KEY=your_daytona_keySANDBOX_AMP_API_KEY=your_amp_keyLocal Usage
Section titled “Local Usage”Install dependencies:
npm installRun the agent:
npm run startThe agent will start and wait for your prompt.
3. Understanding the Script
Section titled “3. Understanding the Script”This example uses Amp’s --stream-json mode for streaming output and the -x (execute) flag for autonomous operation. Commands are sent via a PTY (pseudo-terminal) for real-time streaming.
Initialization
Section titled “Initialization”On startup, the script:
- Creates a new Daytona sandbox with the Amp API key.
- Installs the Amp CLI globally in the sandbox.
- Creates a PTY for streaming output from Amp.
- Sends a Daytona-aware system prompt as the first user message (preview URL pattern + instruction to write server startup command to
/home/daytona/start.sh). - Enters the readline loop to send prompts and receive streamed responses.
- On Ctrl+C, kills the PTY session, deletes the sandbox, and exits.
PTY Communication
Section titled “PTY Communication”The agent uses a pseudo-terminal (PTY) for streaming output from Amp:
// Create a PTY for streaming output from Ampthis.ptyHandle = await this.sandbox.process.createPty({  id: `amp-pty-${Date.now()}`,  cols: 120,  rows: 30,  onData: (data: Uint8Array) => this.handleData(data),})
// Wait for PTY connectionawait this.ptyHandle.waitForConnection()
Running Amp Commands
Section titled “Running Amp Commands”Each prompt is sent as an amp command with the -x (execute) flag for autonomous operation. The agent uses Amp’s thread system to maintain conversation context:
// Run an amp command via PTY and wait for completionprivate async runAmpCommand(args: string[]): Promise<void> {  const command = ['amp', '--dangerously-allow-all', '--stream-json', '-m smart', ...args].join(' ')
  // Send command to the PTY  await this.ptyHandle.sendInput(`cd /home/daytona && ${command}\n`)
  // Wait for the response to complete (signaled by result message)  await new Promise<void>((resolve) => {    this.onResponseComplete = resolve  })}
// Process a user promptasync processPrompt(prompt: string): Promise<void> {  if (this.threadId) {    // Continue existing thread    await this.runAmpCommand(['-x', JSON.stringify(prompt), 'threads', 'continue', this.threadId])  } else {    // Start new thread    await this.runAmpCommand(['-x', JSON.stringify(prompt)])  }}
Streaming JSON Messages
Section titled “Streaming JSON Messages”Amp outputs JSON lines that can be parsed to track agent activity. The handleData method buffers incoming data and processes complete lines:
// Handle streamed data from PTYprivate handleData(data: Uint8Array): void { // Append new data to the buffer this.buffer += new TextDecoder().decode(data) // Split the buffer into complete lines const lines = this.buffer.split('\n') // Keep any incomplete line in the buffer for next time this.buffer = lines.pop() || '' // Process each complete line for (const line of lines.filter((l) => l.trim())) { this.handleJsonLine(line) }}Message types from Amp’s streaming JSON:
- system: Session initialization with
subtype: 'init'andsession_idfor thread tracking - assistant: AI responses with text content and tool usage blocks
- user: Tool results (output from executed tools)
- result: Final execution result (success or error) - signals response completion
private handleJsonLine(line: string): void {  const parsed = JSON.parse(line) as AmpMessage
  if (parsed.type === 'system' && parsed.subtype === 'init') {    // Capture thread ID for conversation continuation    const sysMsg = parsed as { session_id?: string }    if (sysMsg.session_id) this.threadId = sysMsg.session_id  } else if (parsed.type === 'assistant') {    // Display text and tool_use blocks    const msg = parsed as AssistantMessage    for (const block of msg.message.content) {      if (block.type === 'text') { /* render text */ }      else if (block.type === 'tool_use') { /* display tool */ }    }  } else if (parsed.type === 'user') {    // Tool results: display output  } else if (parsed.type === 'result') {    // Signal response completion    this.onResponseComplete?.()  }}
System Prompt and Main Loop
Section titled “System Prompt and Main Loop”A Daytona-aware system prompt is sent as the first user message. It instructs the agent to use the preview URL pattern and to write the server start command into /home/daytona/start.sh (instead of executing directly in Amp), then provide the preview URL:
const defaultSystemPrompt = [  'You are running in a Daytona sandbox.',  `When running services on localhost, they will be accessible as: ${previewUrlPattern}`,  'When you need to start a server, DO NOT run it directly.',  'Instead, write only the server start command to /home/daytona/start.sh (one command, no markdown).',  'After writing the start command, provide the preview URL to the user.',].join(' ')
const ampSession = new AmpSession(sandbox)await ampSession.initialize({ systemPrompt: defaultSystemPrompt })
When Amp is ready, the script runs a readline loop:
const rl = readline.createInterface({ input: process.stdin, output: process.stdout })
while (true) {  const prompt = await new Promise<string>((resolve) => rl.question('User: ', resolve))  if (prompt.trim()) {    await ampSession.processPrompt(prompt)    await startServerFromScript()  }}
The readline loop waits for user input, sends it to the agent, and displays the streamed response. If Amp produced /home/daytona/start.sh, the script is then launched via Daytona’s session command API so long-running/background server startup does not hang Amp turns.
Key advantages:
- Secure, isolated execution in Daytona sandboxes
- Streaming JSON output for real-time tool activity feedback
- PTY-based communication for streaming output
- Thread-based conversation continuity across prompts
- Uses Amp’s
smartmode for state-of-the-art model capabilities - All agent code execution happens inside the sandbox
- Automatic preview link generation for deployed services
- Automatic cleanup on exit