This article provides a step-by-step guide on quickly setting up Daytona Enterprise Demo on DigitalOcean. You'll learn how to prepare your environment, configure necessary settings, and launch your Daytona Enterprise single node instance efficiently.
Preparing Your DigitalOcean Account for Daytona Enterprise
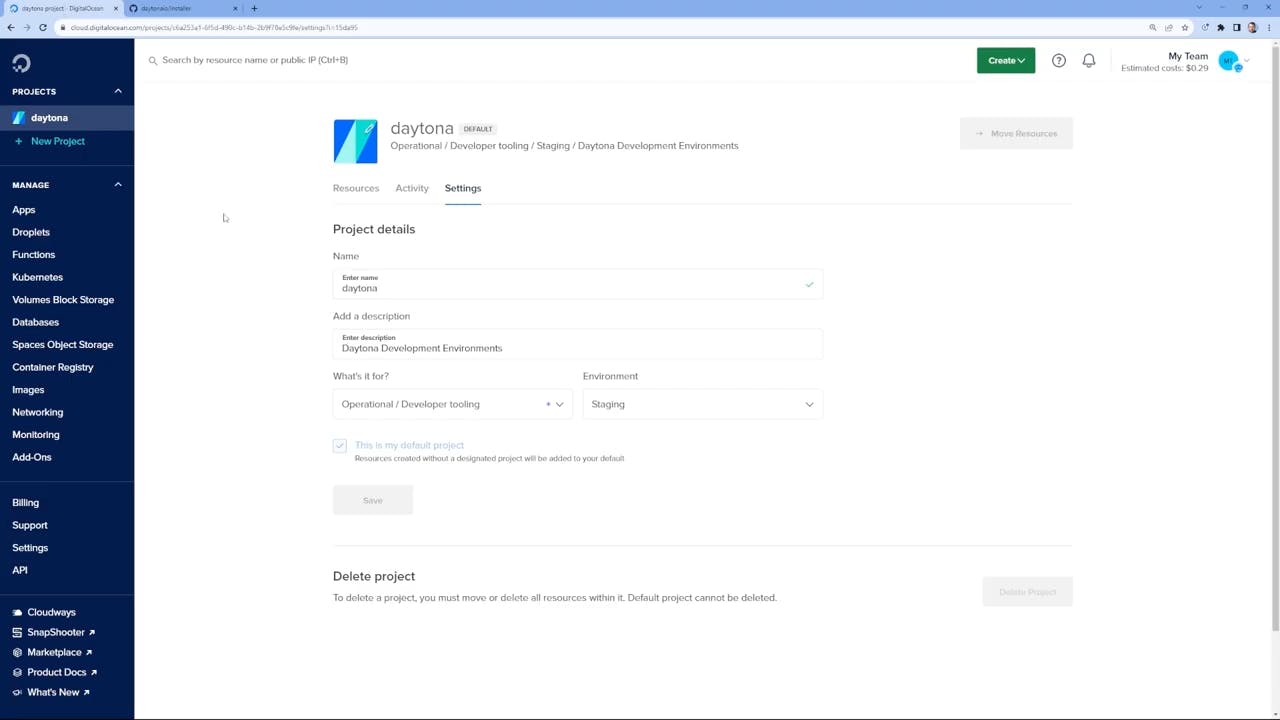
Log in to your DigitalOcean account.
Create a droplet with the recommended specifications:
For individual use: 4 vCPUs and 16 GB of RAM.
For small teams: Consider 8 vCPUs and 32 GB of RAM, depending on the number of workspaces.
Choose Ubuntu 22.04 LTS (Jammy) for optimal compatibility with Daytona.
Ensure you have a domain, ideally hosted on DigitalOcean, for easier setup.
Configuring OAuth and Domain
Set up an OAuth application on GitHub or GitLab, following the provided instructions:
Values to set in the identity provider:
Homepage URL:
https://{{ domain-name }}Authorization callback URL:
[https://id.{{](https://id.{{/) domain-name }}
Setting Up the Environment
Access your DigitalOcean droplet's console.
Confirm Git is installed by running
git --version.Clone the Daytona repository using
git clonefollowed by the repository URL.Navigate to the installer directory and initiate the setup process.
1git clone https://github.com/daytonaio/enterprise-demo2cd installer3./setup.sh

Agreeing to Terms and Installing Dependencies
Accept the terms of use for evaluation or home use. For commercial use, contact the Daytona team.
The setup will install Helm for Kubernetes application management and Certbot for TLS certificate management.
The setup will also configure the cluster with K3S and specify GitHub for version control integration.
Enter the required secrets for OAuth when prompted.
Here is the prompt you will receive if you choose Github IdP for example:
1./setup.sh2...3Enter app hostname (valid domain) [FQDN]: daytona.example.com4Identity Providers (IdP) available [IDP]:51) github62) gitlab73) bitbucket84) gitlabSelfManaged95) githubEnterpriseServer10Choose an IdP (type the number and press Enter): 111Enter IdP Client ID [IDP_ID]: changeme12Enter IdP Client Secret (IDP_SECRET) (input hidden):
DNS Configuration and Certificates
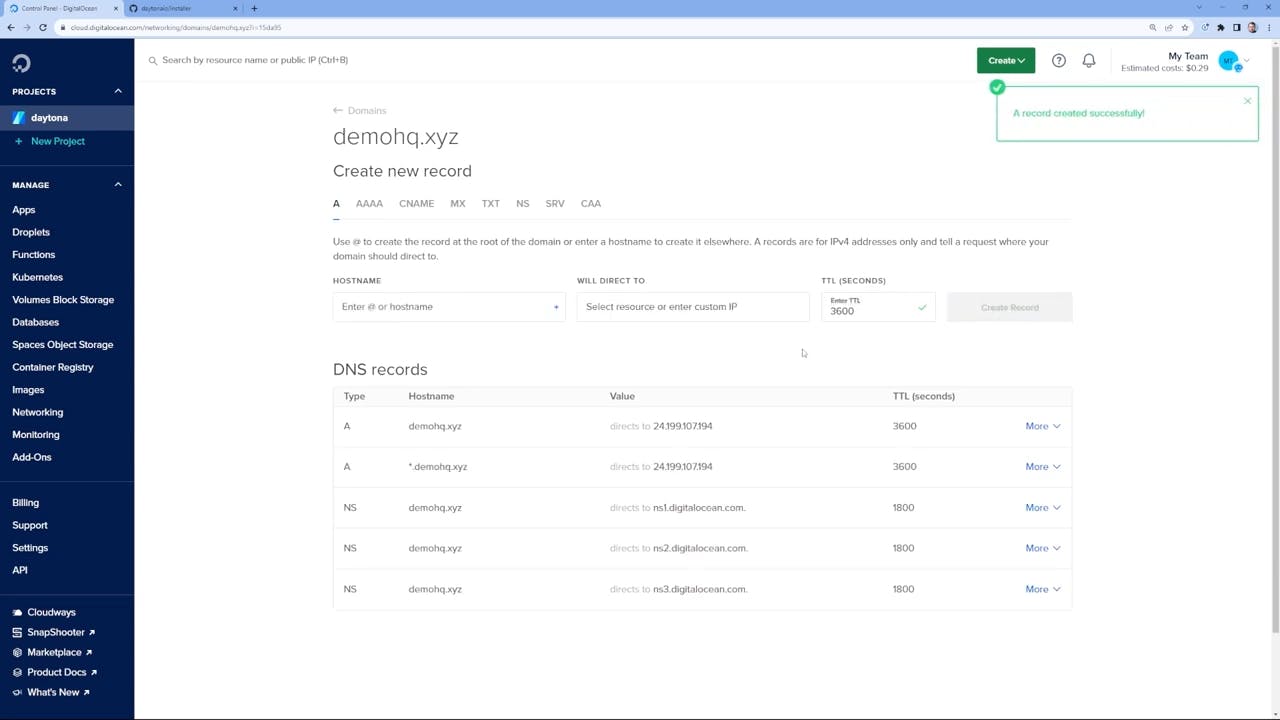
Add DNS records (
*and@) in DigitalOcean to point to your Daytona instance.In your droplet's console, clone the Daytona installer from our GitHub.
Run the setup script
./setup.sh.Set up the Acme challenge by creating the necessary DNS records for TLS certificate validation.
Wait for the DNS to propagate and verify the setup.
Finalizing the Installation
The installation will proceed to set up a K3S cluster and install Longhorn for storage requirements.
The process may take several minutes, during which you can monitor the progress.
Launching Daytona
Once the installation is complete, navigate to your domain to access the Daytona instance.
Log in using GitHub OAuth to authenticate.
Create a new workspace by specifying a repository URL.
The workspace will launch, and you can begin using Daytona within minutes.
Post-Installation Tips
Consider pre-building images to speed up workspace launches.
Ideally, you can utilize NVMe storage for faster performance.
Full Tutorial on YouTube
To see these steps in action, you can view the full video tutorial on YouTube, which provides a comprehensive walkthrough of the entire process.
Conclusion
Following these steps, you can have a fully functional Daytona environment on DigitalOcean in under half an hour. The process is straightforward, and the environment is just as easy to dismantle if needed.
Enjoy the speed and convenience of your new Daytona setup!